Welcome to Magic Rock RISO! We’re an artist owned and operated RISO studio based in Rhode Island. Our resource page full of file prep tips and other info is coming soon!
What is RISO printing?
Born in Japan as an offshoot of the mimeograph, RISO is best described as a hybrid of screen printing, photocopying, and offset printing. Originally designed to provide businesses with a quick and cost effective option for larger print jobs, artists saw the potential for more and ushered in a new era of RISO enthusiasts. Whether you’re drawn to the beautiful textures, the vibrant ink colors or it’s environmentally friendly features, there’s a lot to love about RISO!
Our machine
We print on a SF5130. Once we have your layered artwork, we load one of the ink drums into the machine and send the corresponding grayscale image from your design to print. The machine burns a stencil or master with the loaded color and then we print. We wait for the prints to dry for at least 12 hrs before moving on to the next color layer. Working from lightest to darkest, we follow the same steps until we’ve printed every color for the job. Hooray!
Our ink colors
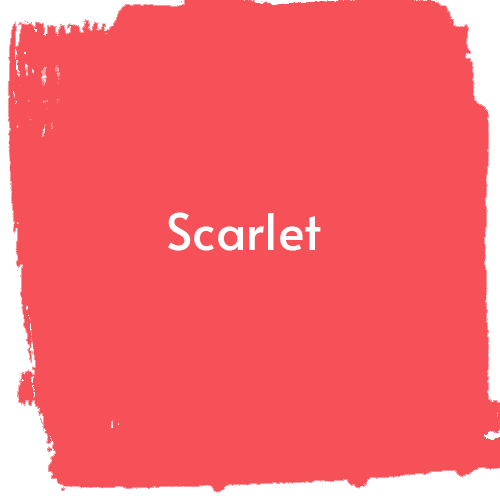
RISO inks don’t have exact matches in any industry standard system but their approximate hex values and pantone equivalents are below each swatch. Remember, since the inks are translucent, the color of your paper impacts their final appearance when printed. You can blend the base inks to get a range of different colors by playing with opacity and how your layers overlap.
“Whoa look at this printed chart of scarlet, sunflower and light teal combos!!!”-You
Some of the work printed at Magic Rock:
FAQS
-
Unfortunately, no. If your artwork is edge to edge, you’ll still have a 3/16” border on your final print. You can always trim your prints down to get a full bleed look.
-
Our maximum print area is roughly 8.5 x 14”, but remember no RISO machine can print full bleed. You’ll have a small margin (roughly 3/16”) on all prints. You can always bake a bigger overall border into your piece for easier framing.
-
Our machine can print on paper up to 11 x 17”, but it’s maximum printed area is roughly 8.5 x 14”. However, you can’t center full bleed legal (8.5 x 14”) sized artwork on tabloid sized (11 x 17”) paper! I have scoured the internet and it seems like it’s just not possible with these machines. There are some exceptions and ways to cheat it depending on your design though-just ask!
-
Your art should be designed at your desired final print size and at 300dpi. Since the RISO only sees image information in black and white, you need to create a corresponding grayscale layer for each ink color you want to print with. If I was printing a piece on 8 x 10” with Light Teal and Scarlet, I’d be sending over a grayscale layer labeled Light Teal and one labeled Scarlet-both on 8 x 10” canvases at 300 dpi. Good file formats are: pngs, jpegs or layered PSDs. More info on how to prep files coming soon!
-
RISO’s can only print on uncoated paper. Nothing super slick or plastic-y feeling! If you’re providing your own paper for your project, make sure you’re getting uncoated paper that’s 110# or lower. We like 67# vellum or something similar for most art prints.
-
Not at the moment! Our current studio space is very cozy, which is the real estate way of saying it’s tiny. We might do online workshops in the future!
-
Depends on how complicated your project is! If it’s more involved than simple stapling or trimming we can give you recommendations for local spots.
-
Risograph inks are not considered archival or lightfast. So if your prints are continuously exposed to sunlight, they will eventually fade. As with most printed matter, the more you handle your pieces and expose them to the elements, the more they will show wear and tear. Personally, I have RISO prints and zines that I purchased almost over a decade a go and they still look incredible!
-
Not right now, sorry. :(


